Wishlist
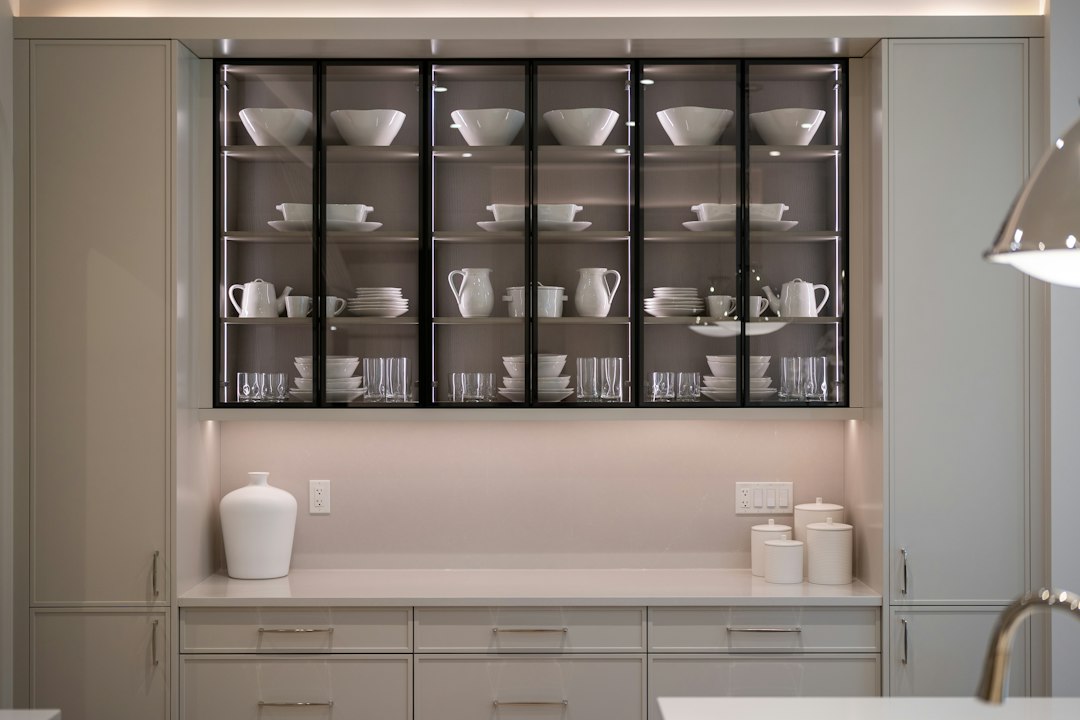
Most people open a cabinet looking for one thing and find a small avalanche instead. Organizing kitchen cabinets isn’t about making everything picture-perfect; it’s about putting the things you use near where you use them, removing what you don’t need, and choosing simple hardware or containers that make daily tasks easier.
Quick answer: how to organize kitchen cabinets so they work
Start by emptying a cabinet, sort items into keep/donate/relocate/trash piles, group what you keep by use, return items with functional storage (shelf risers, lazy susans, bins, or pull-outs), and label where it helps. Do the high-use zones—plates and glasses, prep tools, and frequently used pans—first so the impact is immediate.
Decide what “works” for you: zones and use patterns
Most kitchens benefit from a zone approach. Think in terms of task, not item type: a prep zone (knives, mixing bowls, measuring cups), a cooking zone (pots, pans, spatulas), a dish zone (plates, glasses), and a food storage/pantry zone (cans, dry goods, containers). Place each zone near its activity: plates near the dishwasher, pans near the stove, prep tools near a clear counter space.
How to map your zones quickly
- Watch your routine for two days—where do you stand to chop, reach for spices, or grab cups?
- On a floor plan or mental map, mark where each item is now and where it should be for less motion.
- Start with one cabinet in a single zone and expand once changes feel comfortable.
Practical choices: what storage solutions actually help
Pick solutions that address the friction points you discovered. Here are common problems and straightforward fixes:
- Hard-to-reach lower back corners — Install pull-out trays or a sliding lazy susan to bring items forward.
- Wobbly stacks of plates or mismatched shelf height — Add a shelf riser or adjustable shelf to create usable second levels.
- Small loose items (spices, packets) — Use narrow bins, a spice rack on the inside of a door, or tiered shelf organizers.
- Pots and lids piled together — Store lids vertically on a rack and put pots on a pull-out base.
- Loose utensils — Use drawer dividers for cutlery and a utensil crock for everyday tools on the counter.
How to declutter cabinets without regret
Keep an objective standard: if you haven’t used it in a year, it’s a candidate to donate or store elsewhere. Exceptions: seasonal items you truly use yearly, vintage inheritances you value, or specialty tools for hobbies. To avoid regret, box items you decide to remove and label the box with a future date; if you don’t open it in three months, let it go.
One useful product choice for most beginners
If your biggest problem is loose utensils and general clutter in drawers or a lower cabinet, a reliable utensil set or organizer both helps cooking and simplifies what stays in drawers. For a broad, practical option that's easy to gift or keep, consider a cookware-friendly utensil set that replaces mismatched tools and fits dividers neatly.
Small decisions that make a big difference
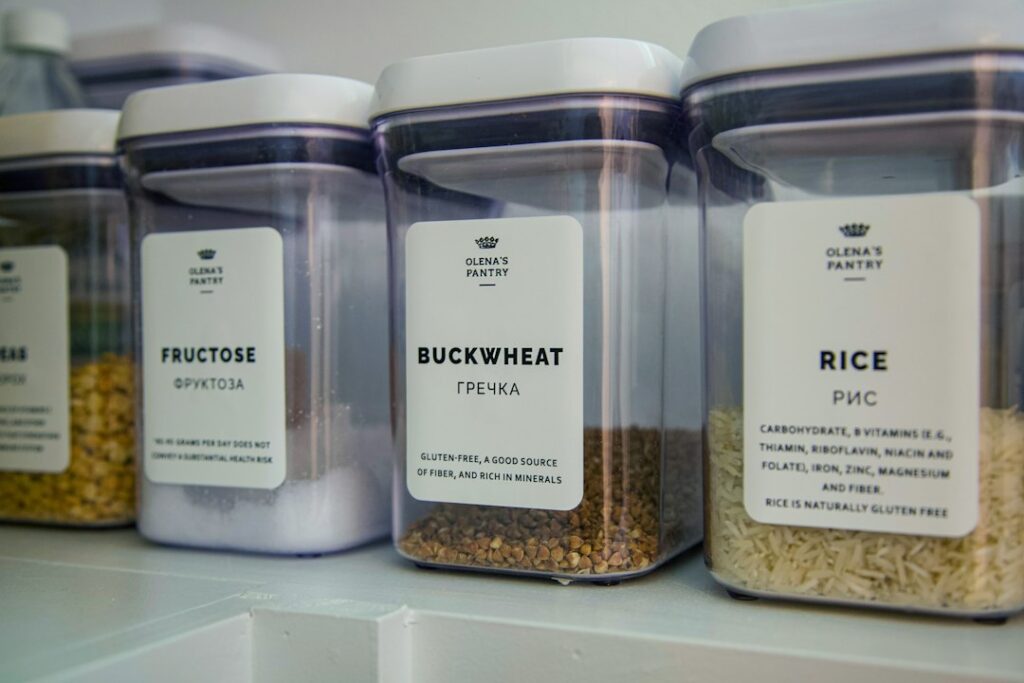
- Standardize containers for dry goods. Clear, stackable containers make it obvious what you have and free up shelf space.
- Group duplicates only if you use them together. Two spatulas are useful; five are not.
- Keep everyday items at eye level; store overflow or special-purpose pieces higher up or in another closet.
- Use the inside of cabinet doors for thin organizers—spice racks, cling racks for foil/foil dispensers, or hooks for measuring spoons.
How to organize a typical cabinet, step-by-step
- Empty the cabinet and wipe it clean. Remove shelf liners if ripped or sticky.
- Sort everything into piles: keep, relocate (belongs in another zone), donate, trash.
- Group the keep pile into functional sets (plates, glasses, lids, baking pans).
- Place highest-use items at the front and at comfortable heights. Reserve top shelves for infrequent items.
- Add one or two organizers (bin, riser, pull-out) that directly solve how the group is stored.
- Label bins or the shelf edge if multiple people use the kitchen to reduce “where does this go?” questions.
Maintenance habits that keep cabinets organized
Spend five minutes weekly returning stray items and a longer 20–30 minute review each season. After big grocery runs, re-assess food-storage layouts to avoid expired items cluttering the space. When you buy a new tool, either make space for it intentionally or remove something similar.
- Empty one cabinet and sort items into keep/relocate/donate/trash.
- Place daily-use items at eye level or near their work zones.
- Measure interior cabinet space before buying organizers.
- Add targeted storage (riser, pull-out, bin) for the biggest problem.
- Label bins or shelf edges if multiple people use the kitchen.
- Schedule a 15–30 minute seasonal cabinet review to declutter.
Organizing kitchen cabinets should reduce friction: fewer reaches, less digging, and clearer counters. Make small, measurable changes—zone mapping, one cabinet at a time, and one smart organizer—and you'll see immediate improvements that stay useful.
What’s the first cabinet I should organize?
Start with the cabinet that causes the most daily friction—usually the dishes near the dishwasher, the pots near the stove, or the prep drawers. Early wins motivate further progress.
How do I store mismatched Tupperware?
Sort by lid-first: match lids to bases, discard warped or missing lids, and use nesting or upright lid organizers to save space.
Are clear containers worth the cost?
Yes for staple dry goods: they reduce waste, stack neatly, and make inventory clear, which often offsets the upfront expense.
Can I install pull-outs in existing cabinets?
Many pull-out kits are designed for retrofit and require only a drill and basic tools; measure carefully and choose weight-rated options for heavy cookware.
How do I keep kids from creating clutter in lower cabinets?
Designate one low cabinet for kid-friendly items and use labeled bins or baskets; everything else should be out of reach or in higher cabinets.