Wishlist
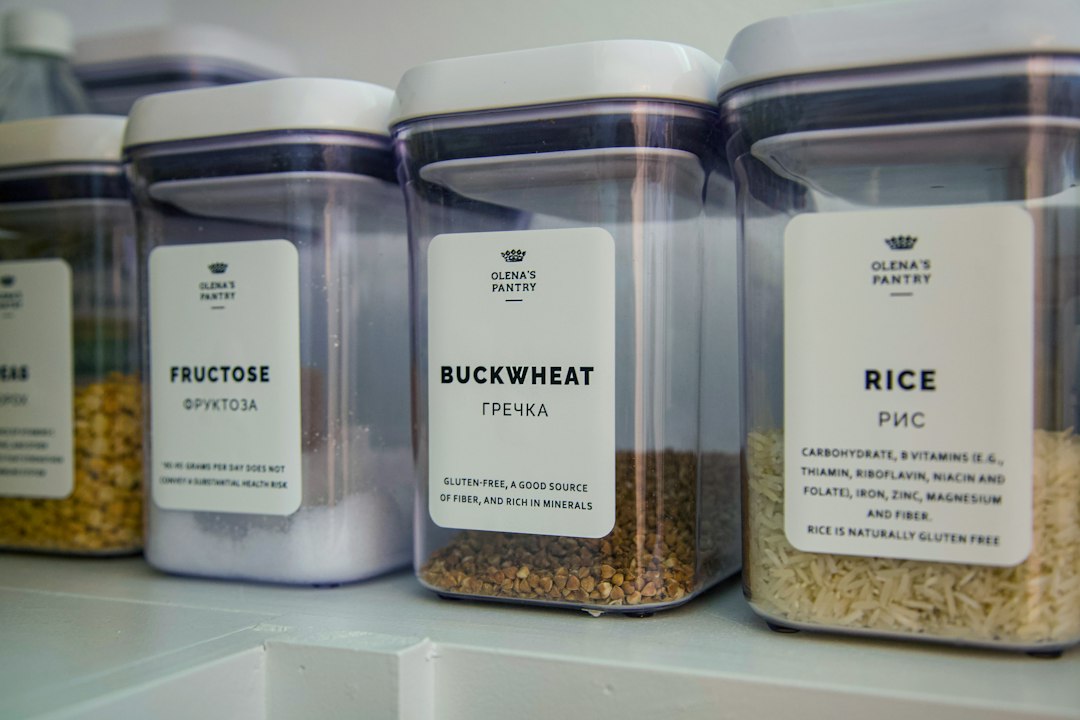
The result you want: an easy-to-scan pantry where you can find, reach and use what you have
When you organize a pantry well, meal prep is faster, food waste drops and the shelf you thought was “just for overflow” becomes useful. Ignore perfect symmetry and magazine-style displays — what matters is visibility, consistent containers, smart zones and a simple upkeep routine. You can safely ignore matching jars or decorative trays unless you want that look; function first.
Quick plan: measure, declutter, zone, containerize, label, maintain
Start with a short plan: measure shelves, clear everything out, decide zones (breakfast, baking, snacks, canned goods, bulk), pick the right containers for each zone, label, then set one 10–15 minute weekly habit to keep it that way. The following sections walk that process through in practical order.
Measure and map the space before buying anything
Take these measurements: full pantry width, shelf depth, vertical clearance between shelves, door width (if adding an over-door rack). Sketch a rough map and note lighting and which shelves are easiest to reach — these will be prime real estate for everyday items. If you have deep shelves, plan for pull-out bins or turntables; shallow shelves can use straight bins and clear jars.
Empty, inspect and purge: make decisions fast
Pull everything out and sort into four piles: Keep, Toss (expired/damaged), Donate (unopened you won’t use), and Relocate (items that belong elsewhere). Be ruthless about multiples you won’t realistically use. While the shelves are empty, wipe them down and fix any weak shelf supports.
Assign pantry zones where they make sense
Zones cut down search time. A practical zone list that fits most kitchens:
- Everyday staples (flour, sugar, oil, salt) — at eye level
- Breakfast and cereal — at a reachable height for kids or adults who make breakfast fast
- Snacks — a dedicated lower shelf or basket for quick grabs
- Canned goods — grouped and faced forward
- Baking and spices — small racks, tiered shelf or drawer for jars
- Bulk and overflow — top shelf in clear bins
Place heavy, frequently used items where lifting is safe; reserve top shelves for lightweight, infrequently used things.
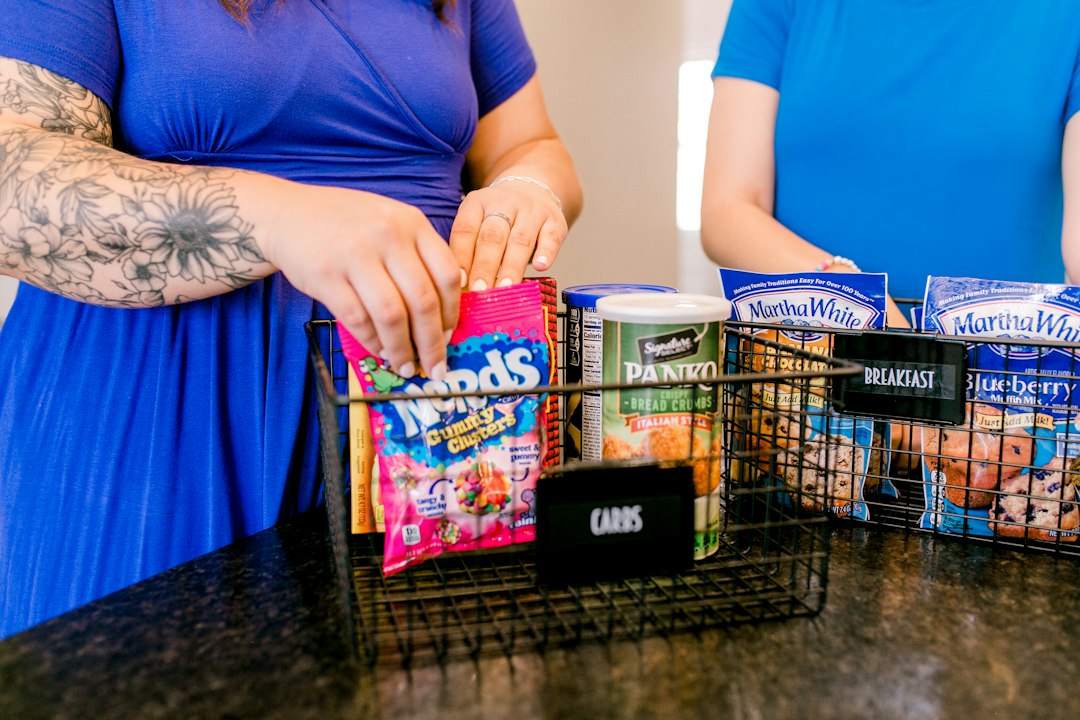
Choose containers with purpose, not just for looks
Containers make a messy shelf readable. Use clear, stackable bins for grouped items (snacks, packet soups), airtight containers for loose dry goods (flour, rice, pasta), and shallow baskets for bulky wrappers. For cans, consider a front-facing organizer or simply line them up so labels are visible.
Product recommendation: if you want versatile bins that fit typical pantry shelves and make pull-out access easy, consider a clear plastic storage bin that’s durable and stackable. It’s particularly useful for bulk or overflow on high shelves.
Label effectively — short, consistent, and visible
Labels speed recognition more than matching lids. Use a simple label for each container and shelf edge labels for zones. Keep labels short (SNACKS, PASTA, CANNED SOUP). If children use the pantry, add a small icon or color for their snacks. Remove reliance on reading every package: the container label is the authority.
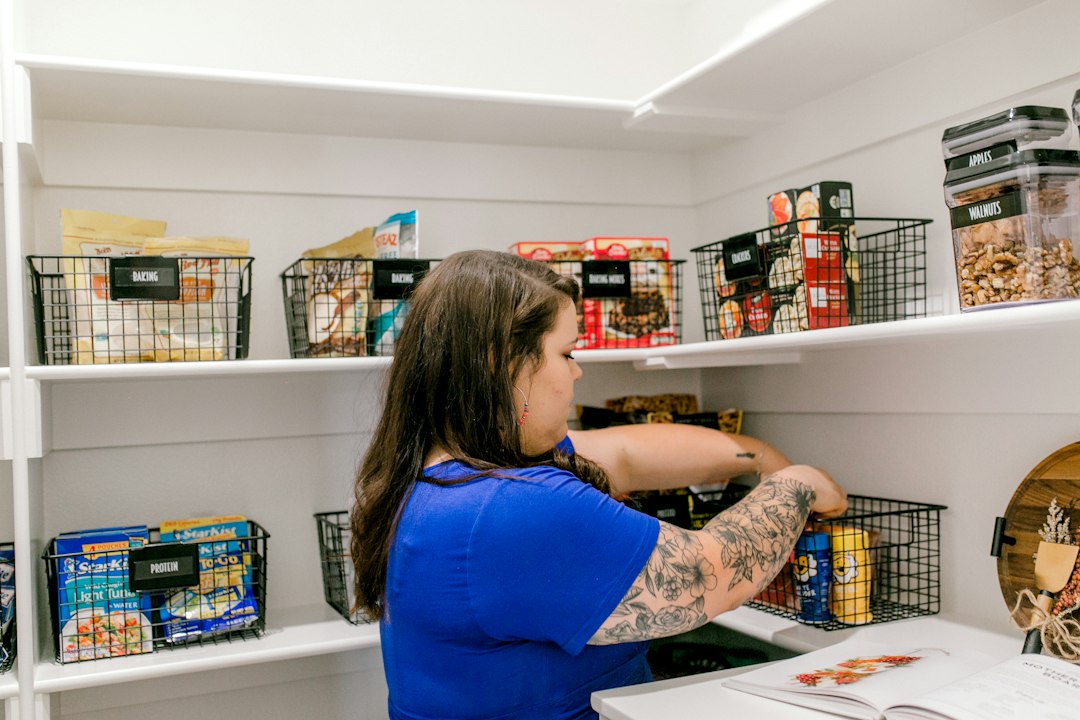
Keep a small “open-can” tray near the front for recently opened cans or jars. Maintain a one-sheet pantry inventory pinned to the door or in a notes app listing staples to buy and items running low. For households with many staples, a simple first-in-first-out (FIFO) rule — move new purchases behind older ones — prevents waste.
Placement and accessibility tips that actually help
- Eye level: everyday staples and child-accessible snacks.
- Lower shelves: heavy items (bulk water, large olive oil bottles).
- Top shelf: single-use or seasonal items (holiday baking supplies).
- Door racks: spices, small packets, or frequently grabbed condiments — check door width first.
- Deep shelves: use sliding bins or arrange items in front/back zones (rotate as you buy).
Quick fixes for common pantry problems
Problem: Things fall to the back and get forgotten. Fix: use clear, labeled pull-out bins or turntables for deep shelves. Problem: Snacks disappear or go stale. Fix: portion snacks into smaller clear bins or zip bags so you can see quantities. Problem: Spices are a jumbled mess. Fix: a small tiered rack or magnetic strip on the door for frequently used jars.
Maintenance routine: 10–15 minutes weekly, 30 minutes seasonally
Weekly (10–15 minutes): a quick scan to toss expired items, move new purchases behind old, and re-align labels. Seasonally (30–45 minutes): empty a shelf for deeper cleaning, re-evaluate what you buy, and refresh containers if something isn’t working.
When to adapt the plan: renters, small pantries, and large walk-ins
Renters: favor non-permanent solutions — freestanding shelving, over-the-door racks and bins. Small pantries: vertical storage and door organizers maximize space; choose narrow bins and stackable airtight containers. Walk-ins: create sight lines with open bins on lower shelves and clear containers on middle shelves so nothing gets lost at the back.
One last practical tip before you start
When restocking, put purchases behind older items and keep a small “buy soon” bin at the front for items that are half-used or low. That tiny habit saves more wasted food than any aesthetic organizer you can buy.
- Measure shelf widths, depths and door clearance before buying containers.
- Clear everything out, sort into keep/throw/donate/relocate piles.
- Create 4–6 pantry zones based on how you use the kitchen.
- Choose clear, stackable bins for grouped items and airtight containers for loose dry goods.
- Label shelf edges and containers consistently.
- Schedule a 10–15 minute weekly scan to maintain the system.
Organize a pantry by making items visible and predictable: measure, purge, zone, containerize, label and create a simple maintenance habit. Small investments in the right containers and a weekly 10‑minute check will keep the system working.
How often should I clean my pantry?
Do a quick weekly scan and a deeper clean every 3–6 months when you re-check expiration dates and reorganize shelves.
What containers work best for dry goods?
Airtight, clear containers in uniform sizes stack well and improve shelf readability; choose wide-mouth shapes for easy scooping of flour and sugar.
How do I store cans so I can find them quickly?
Group cans by type and face labels forward; use a simple can organizer or shallow bins so older cans stay in front and get used first.
Can I use baskets instead of clear bins?
Baskets work well for snacks and wrappers but use clear bins or labeled containers for dry goods so you can instantly see quantities.
What’s an easy system for tracking low items?
Keep a small “low items” list on the pantry door or phone notes app and update it when you scan weekly; a front-facing buy-soon bin also highlights what needs restocking.